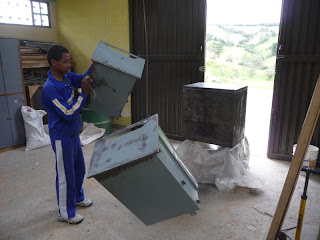
When it is overcast or late in the afternoon, the boys and I have often felt the need for better light while using the drill press. Now we have one; thank you, Lord!
I bought an inexpensive movable light downtown a few weeks ago. The light itself and boom assembly are made from steel and look to be fairly sturdy, but the original mounting base was plastic and deformed easily if you repositioned the boom. Plus, there wasn't anything convenient to clamp the base to on the drill press or the wall behind it. So, it was time to make a sturdy mounting base for the light.
David Rocha, age 11, is only attending school two days a week these days, because the teacher has gotten fed-up with him. Unfortunately, he has behaved badly in school this year and we have been unsuccessful in correcting his insubordination and rebellion. So, for now, he is doing chores around the farm and doing homework on the days that he doesn't attend school.
 |
| David Rocha |
For example, the first thing he did upon walking into the wood shop room was walk over and turn on the lathe. The lathe had a large, partially completely practice spindle chucked up. That got my attention! He had only seen the lathe with a sanding disc attached before - and had sanded a few things on it. But he wasn't aware of the hazards of sticking your hands in the wrong places with a workpiece mounted up, etc. After I told him not to turn on the equipment without permission, I showed him how it works and gave him the chance to make a cut with the roughing gouge.
We selected a couple of pieces of sapan (a South American hardwood, also known aromata or blackheart) to make the base. Using the joiner, planer, and table saw, we trued them up and cut them down to size. I had a bit of a panic when the planer nicked a couple of small nails that had been buried in the 4x4 piece (it was part of some used posts from a porch that had been donated), but upon checking the cutting blades, we found no damage. David loved the action and noise of the big machines, feeding the planer and receiving boards that I fed through the joiner and table saw.
After the mounting plate and block were cut out, I decided to dress them up using a chamfer bit with the router. So we set up the simple router table and cut small chamfers on the plate and larger ones on the block. David hadn't seen the router before and was amazed at how nice of results it produced with very little effort.
Then we sanded the components and drilled holes for mounting and assembly. We experimented on some scrap wood to determine the best size hole for inserting the spud from the boom assembly so that it would turn in the hole, but not be too loose to hold its position. I did all the marking, David did all the drilling. We clamped everything down because sapan is a rather hard wood and requires lots of force to cut it.
We used glue and four big wood screws to secure the block to the mounting plate.
Finally, it was time to mount the whole thing on the wall. I thought we might spend and hour on the project, but it took more like two. David had to leave to do some homework, so I drilled the holes in the wall and mounted it next to the drill press. David posed later for the picture of the finished project. We both felt like we had accomplished something useful and fun.


 B
B


